

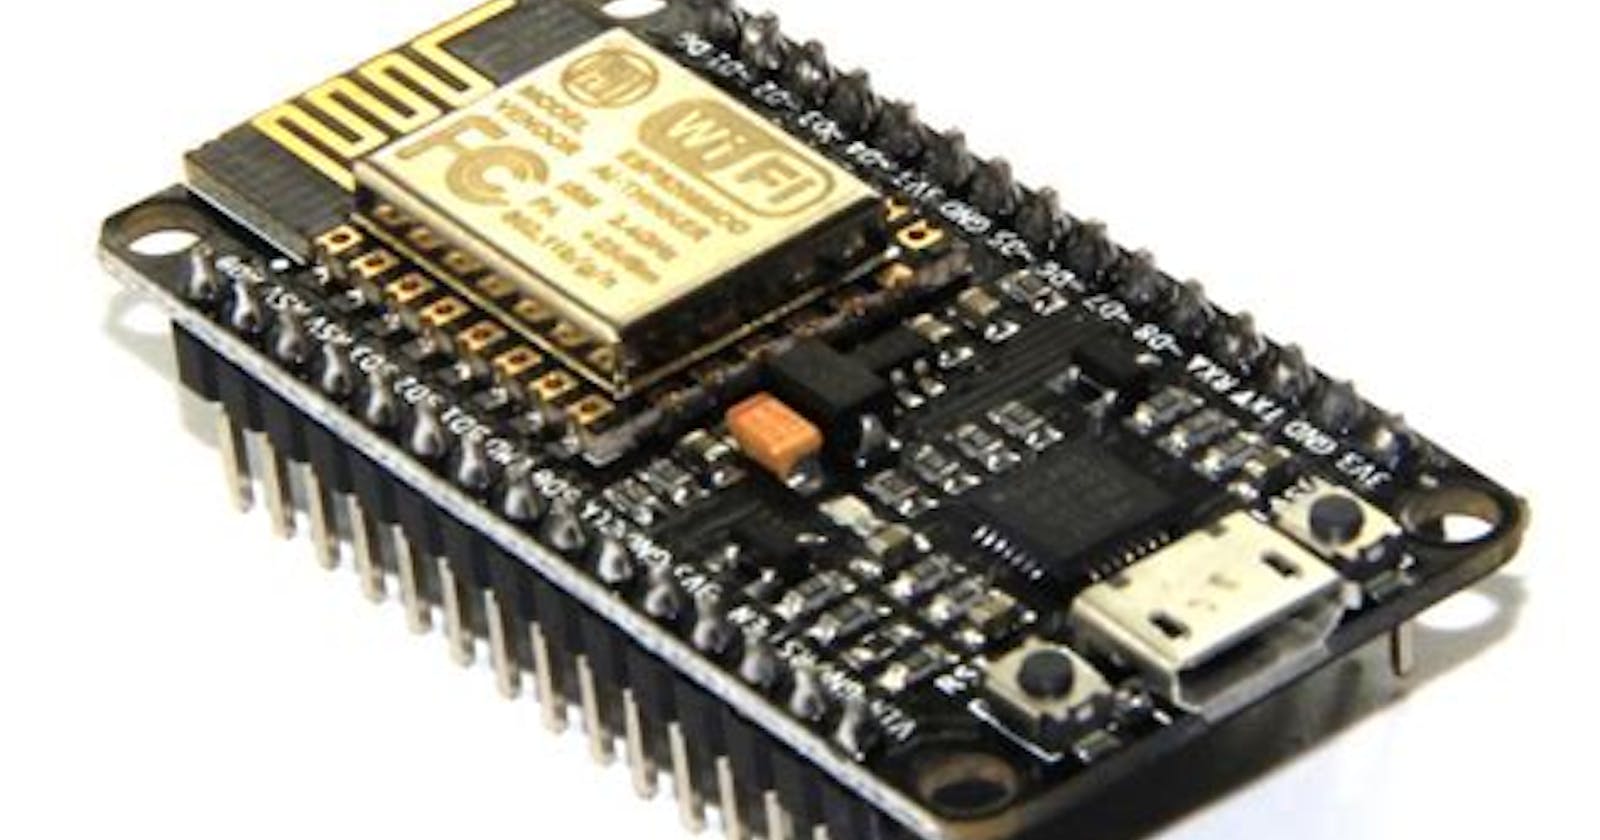


NodeMCU is a low-cost open source IoT platform. It initially included firmware which runs on the ESP8266 Wi-Fi SoC from Espressif Systems, and hardware which was based on the ESP-12 module. Later, support for the ESP32 32-bit MCU was added*
The impact of ESP8266 on hobbyist and DIY community, particularly in the development of IoT (Internet of Things) related application is absolutely overwhelming. The ESP8266 SoC is a cheap Wi-Fi Microcontroller with full TCP/IP Stack developed by Espressif Systems.
Traditionally, we write code for our Microcontrollers like Arduino, STM32, 8051 etc., either in C or C++ and compile it with a set of tools and generate a binary file. This binary file is then uploaded into the flash memory of the microcontroller and it gets executed.***
Things are quite different with NodeMCU. You can consider the NodeMCU firmware as an interpreter for Lua Scripts. So, if your ESP8266 is loaded with NodeMCU Firmware, you can simply write your application in Lua and send it to the ESP8266.
NodeMCU Firmware will interpret the bytecode and executes the commands. There is no compilation, no binary file etc. Just write a script and run it.

The team which developed NodeMCU Firmware also developed a breakout board for ESP-12E module called the NodeMCU Devkit. So, many of us are actually using the board called NodeMCU and programming it with Arduino IDE and not the Lua Scripts. Steps to Program NodeMCU
Now let’s get started with the steps to program NodeMCU with Arduino IDE.
Total Time: 30 minutes Download and install the latest Arduino IDE
The first and foremost thing we will require to program this microcontroller is Arduino IDE. So, first, we will install the Arduino IDE. Depending on the OS you are using, install a respected version of Arduino IDE. You can download Arduino IDE from HERE. Add ESP8266 board preferences
After installing Arduino IDE, we have to install the NodeMCU board in Arduino IDE. For this step, we have to add board preference for the NodeMCU board. Go to File > Preferences The preference window will open. In Additional Boards Manager, paste the link below:
arduino.esp8266.com/stable/package_esp8266c.. Board Manager Install ESP8266 Board in Arduino IDE
First, open Boards Manager in Android IDE. Click on Tools > Board > Boards Manager. Now, after this, the Arduino Boards Manager will open. In the search box of Arduino Boards Manager, search esp8266. As shown in the above image, you will find the board with the name “esp8266 by ESP8266 Community”. Below this, choose the version and hit install.Arduino Board Manager 2 Install USB serial drivers
As we will program NodeMCU esp8266 from Laptop/PC, there should be a USB to Serial converter. There is an on-chip USB to Serial IC on NodeMCU. For your NodeMCU, the USB to Serial IC may be SCILAB CP2102 or CH340G. Mostly, if you are using NodeMCU version 0.9, then it will have SCILAB CP2102. For NodeMCU version 1.0, it is CH340G. You can download the required driver from the link given below: Click Here to DOWNLOAD CH340G driver setup Click Here to DOWNLOAD SCILAB CP2102 driver setupUSB to Serial Drivers Connect to Laptop/PC and program ESP Blink
As shown in the above image, click on File> Example > ESP8266 > Blink Now, a new window will open, with the ESP8266 Blink sketch example. In this sketch, you will find that, pin named as LED_BUILTIN is declared as output. This is pin number D13 for NodeMCU. In NodeMCU, pin D13 is internally connected with the onboard LED. After programming NodeMCU esp8266, you will find the LED on NodeMCU is blinking with the given ON-OFF delay. You can change this delay by editing the code. We uploaded the code, just to ensure the NodeMCU is programmed or not. If LED is blinking with a given delay, hurrey, you just completed the setup of NodeMCU programming from Arduino IDE.Program NodeMCU Blink Is your program getting stuck at “uploading”?
Connect your NodeMCU to Laptop/PC and follow this sequence of Push buttons:-
Press and hold the “Flash” Button + Press and release the “Reset” Button Now release flash button
The above steps will enable the program mode of your NodeMCU. Now click on the Upload button. You have resolved the issue. Still unable to Program NodeMCU esp8266?
It may possible that you are still not able to program NodeMCU ESP8266. Check for if any below reason:
NodeMCU not connecting to Laptop/Desktop (Mostly Driver issue)
Follow this troubleshooting guide for more.****